
If you are looking for an amazing Divi checkout page or if you want to style Divi checkout page, this tutorial is for you.
Welcome back to another awesome styling article, today I will be showing you how to style the Divi checkout page using the plugin and some basic CSS.
Before we start our article please have a look at how your Divi checkout page will look like at the end.

To create a Checkout page, simply publish a page and paste the checkout shortcode you can have it from the official website of Woocommerce.
Style Divi Checkout Page
Table of Contents
You can skip steps 1, 2, and 3 if you want all the fields of checkout as it is.
Step 1: Delete some unwanted fields
We just need to install a plugin and using that we can remove the fields which are not required.
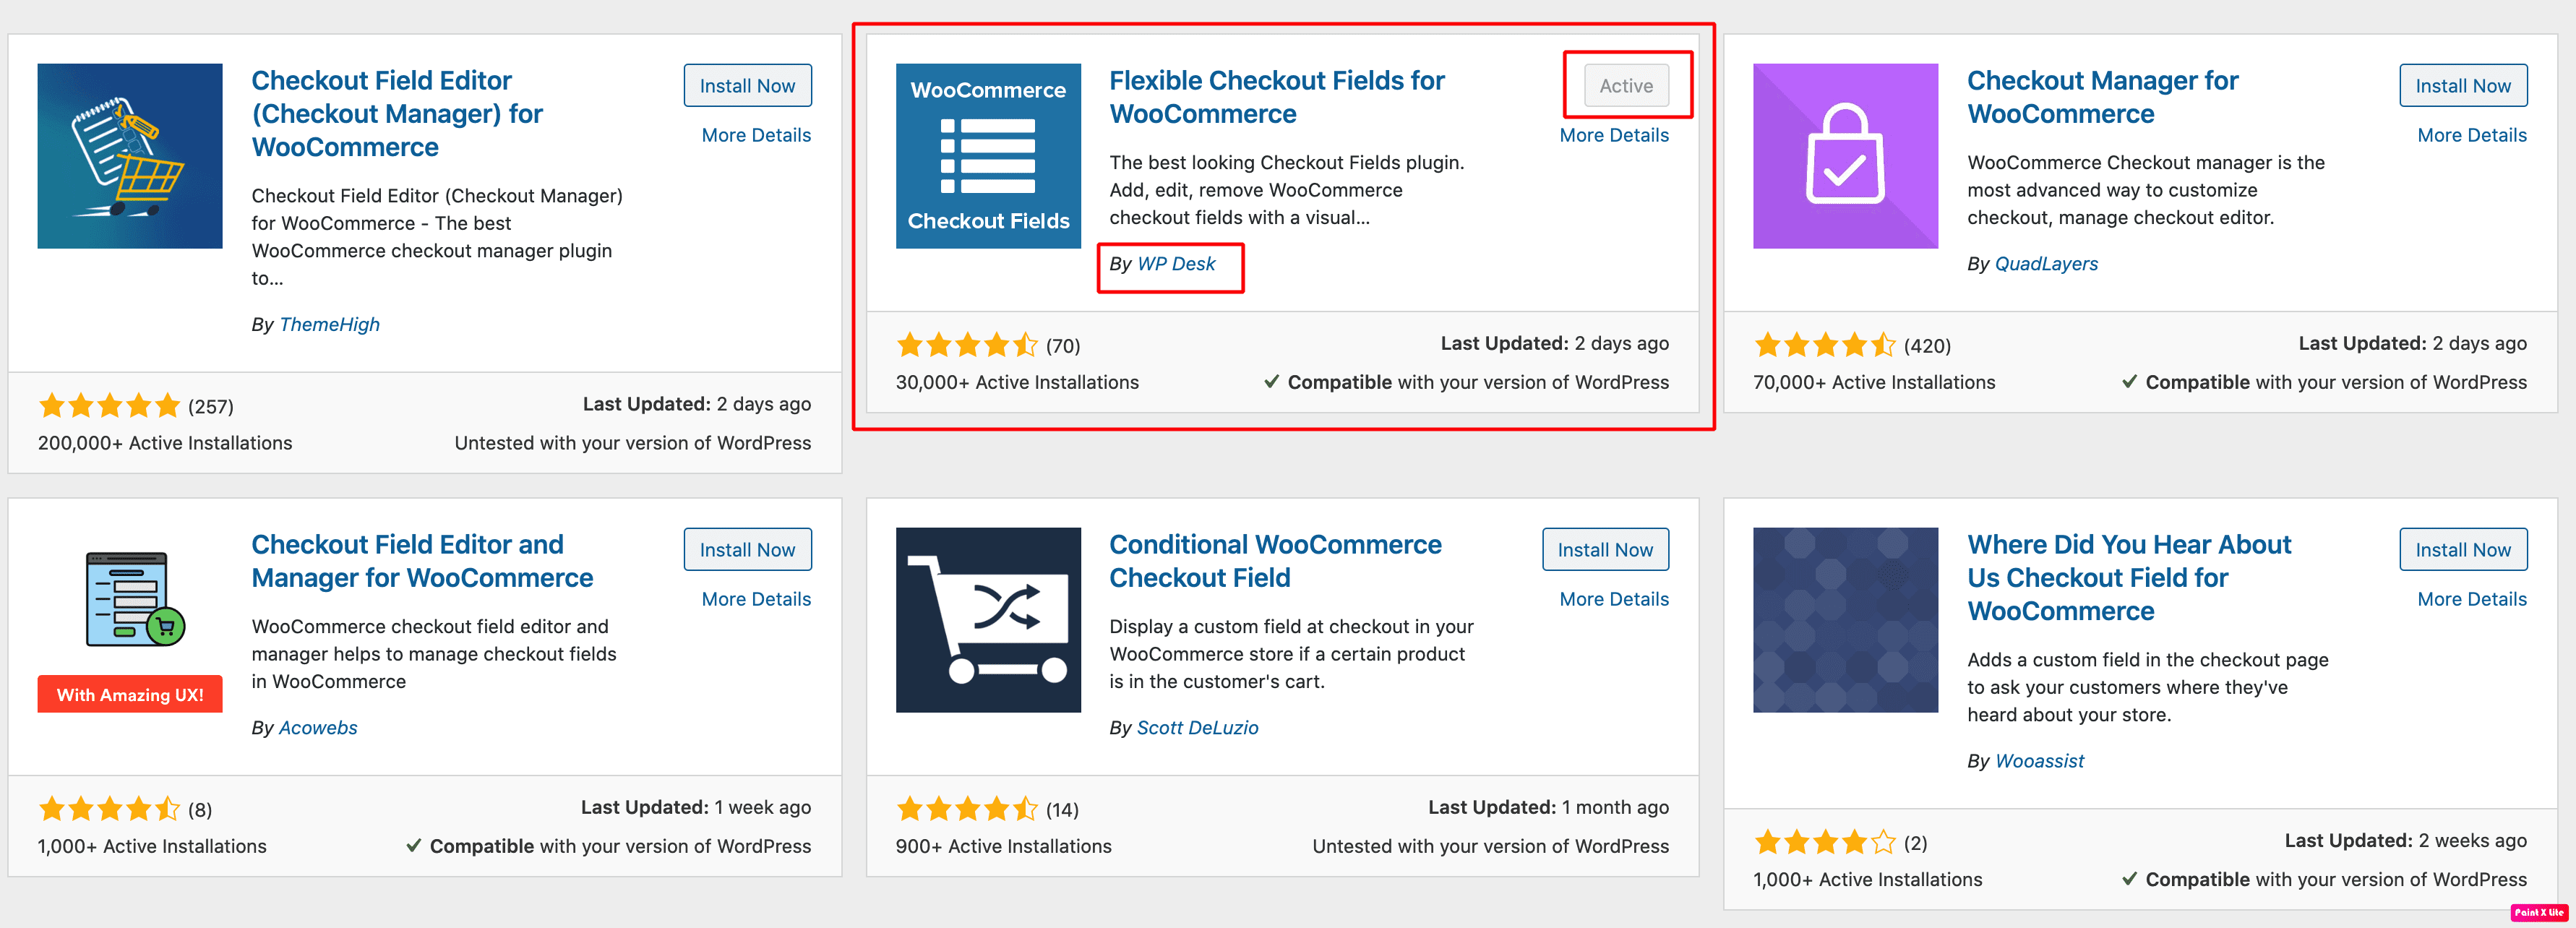
You can simply install the plugin using WordPress plugins> Add new> checkout fields.
Activate it after installing it.

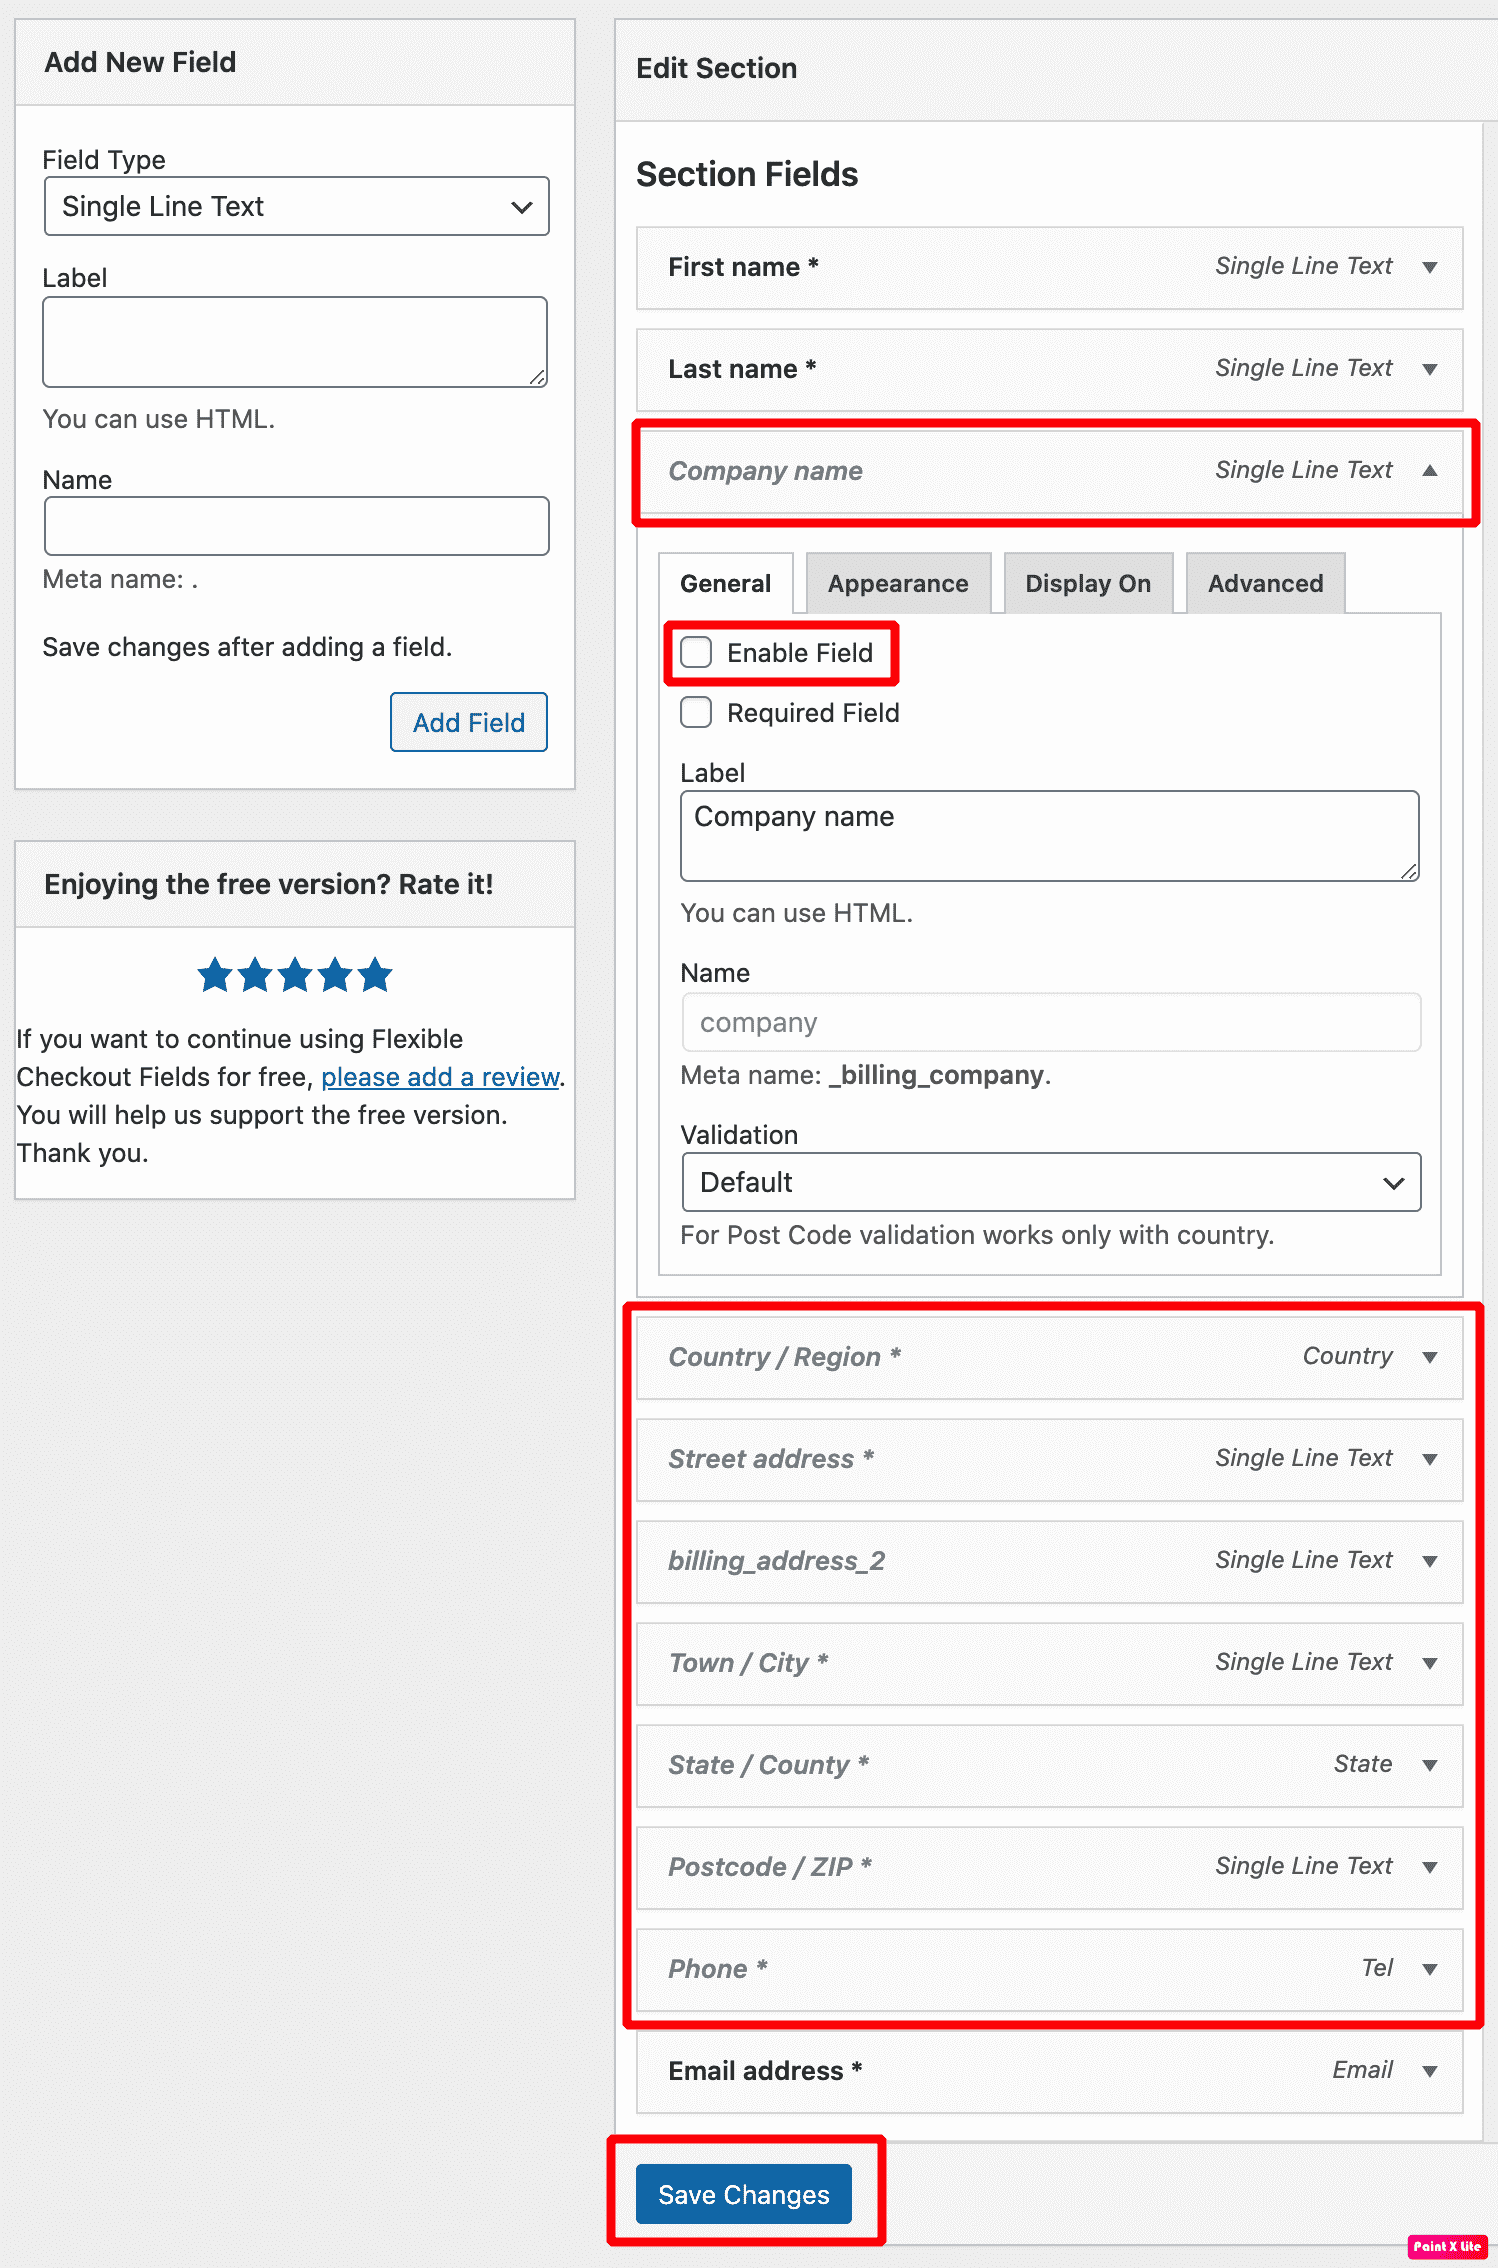
Let’s delete the fields we don’t want.
Dashboard > Woocommerce > Checkout Fields
Uncheck the enable mark from all the fields you don’t want as shown in the image below:
OPTIONAL: If you want, you can add new fields as well using the left side box, which says add new field.

Step 2: Delete additional information Tab from the right side
Copy and paste the below code either in your style.css or custom Divi CSS under dashboard > Divi > Theme Options > Custom CSS.
.woocommerce-additional-fields{
display:none;
}
Step 3: Let’s Make The Fields Full Width
To do so, please copy and paste the CSS code in the custom CSS tab.
/* Checkout field full width */
.woocommerce .col2-set .col-1, .woocommerce-page .col2-set .col-1 {
    float: left;
    width: 100%;
}

/* First Name Field 49% */

.woocommerce form .form-row-first, .woocommerce form .form-row-last, .woocommerce-page form .form-row-first, .woocommerce-page form .form-row-last {
    width: 49%;
}
Step 4: Style Checkout Fields
Again, simply copy and paste the code in custom CSS.
/* Checkout Field */

.woocommerce form .form-row input.input-text, .woocommerce form .form-row textarea {
    padding: 15px;
    font-size: 14px;
    border-radius: 3px;
    border-radius: 100px;
	box-shadow: 0px 0px 42px 0px rgba(110,130,208,0.17);
	border-width:0px;
}
Step 5: Let’s Edit the color of the coupon box or delete it.

Let’s start with editing the color and then for those who don’t want it we will delete it.
Obviously, you can edit the color by putting your own hex code.
/* Changing Color Of Coupon Box */
.woocommerce .woocommerce-error, .woocommerce .woocommerce-info, .woocommerce .woocommerce-message {
background: #BC8672;
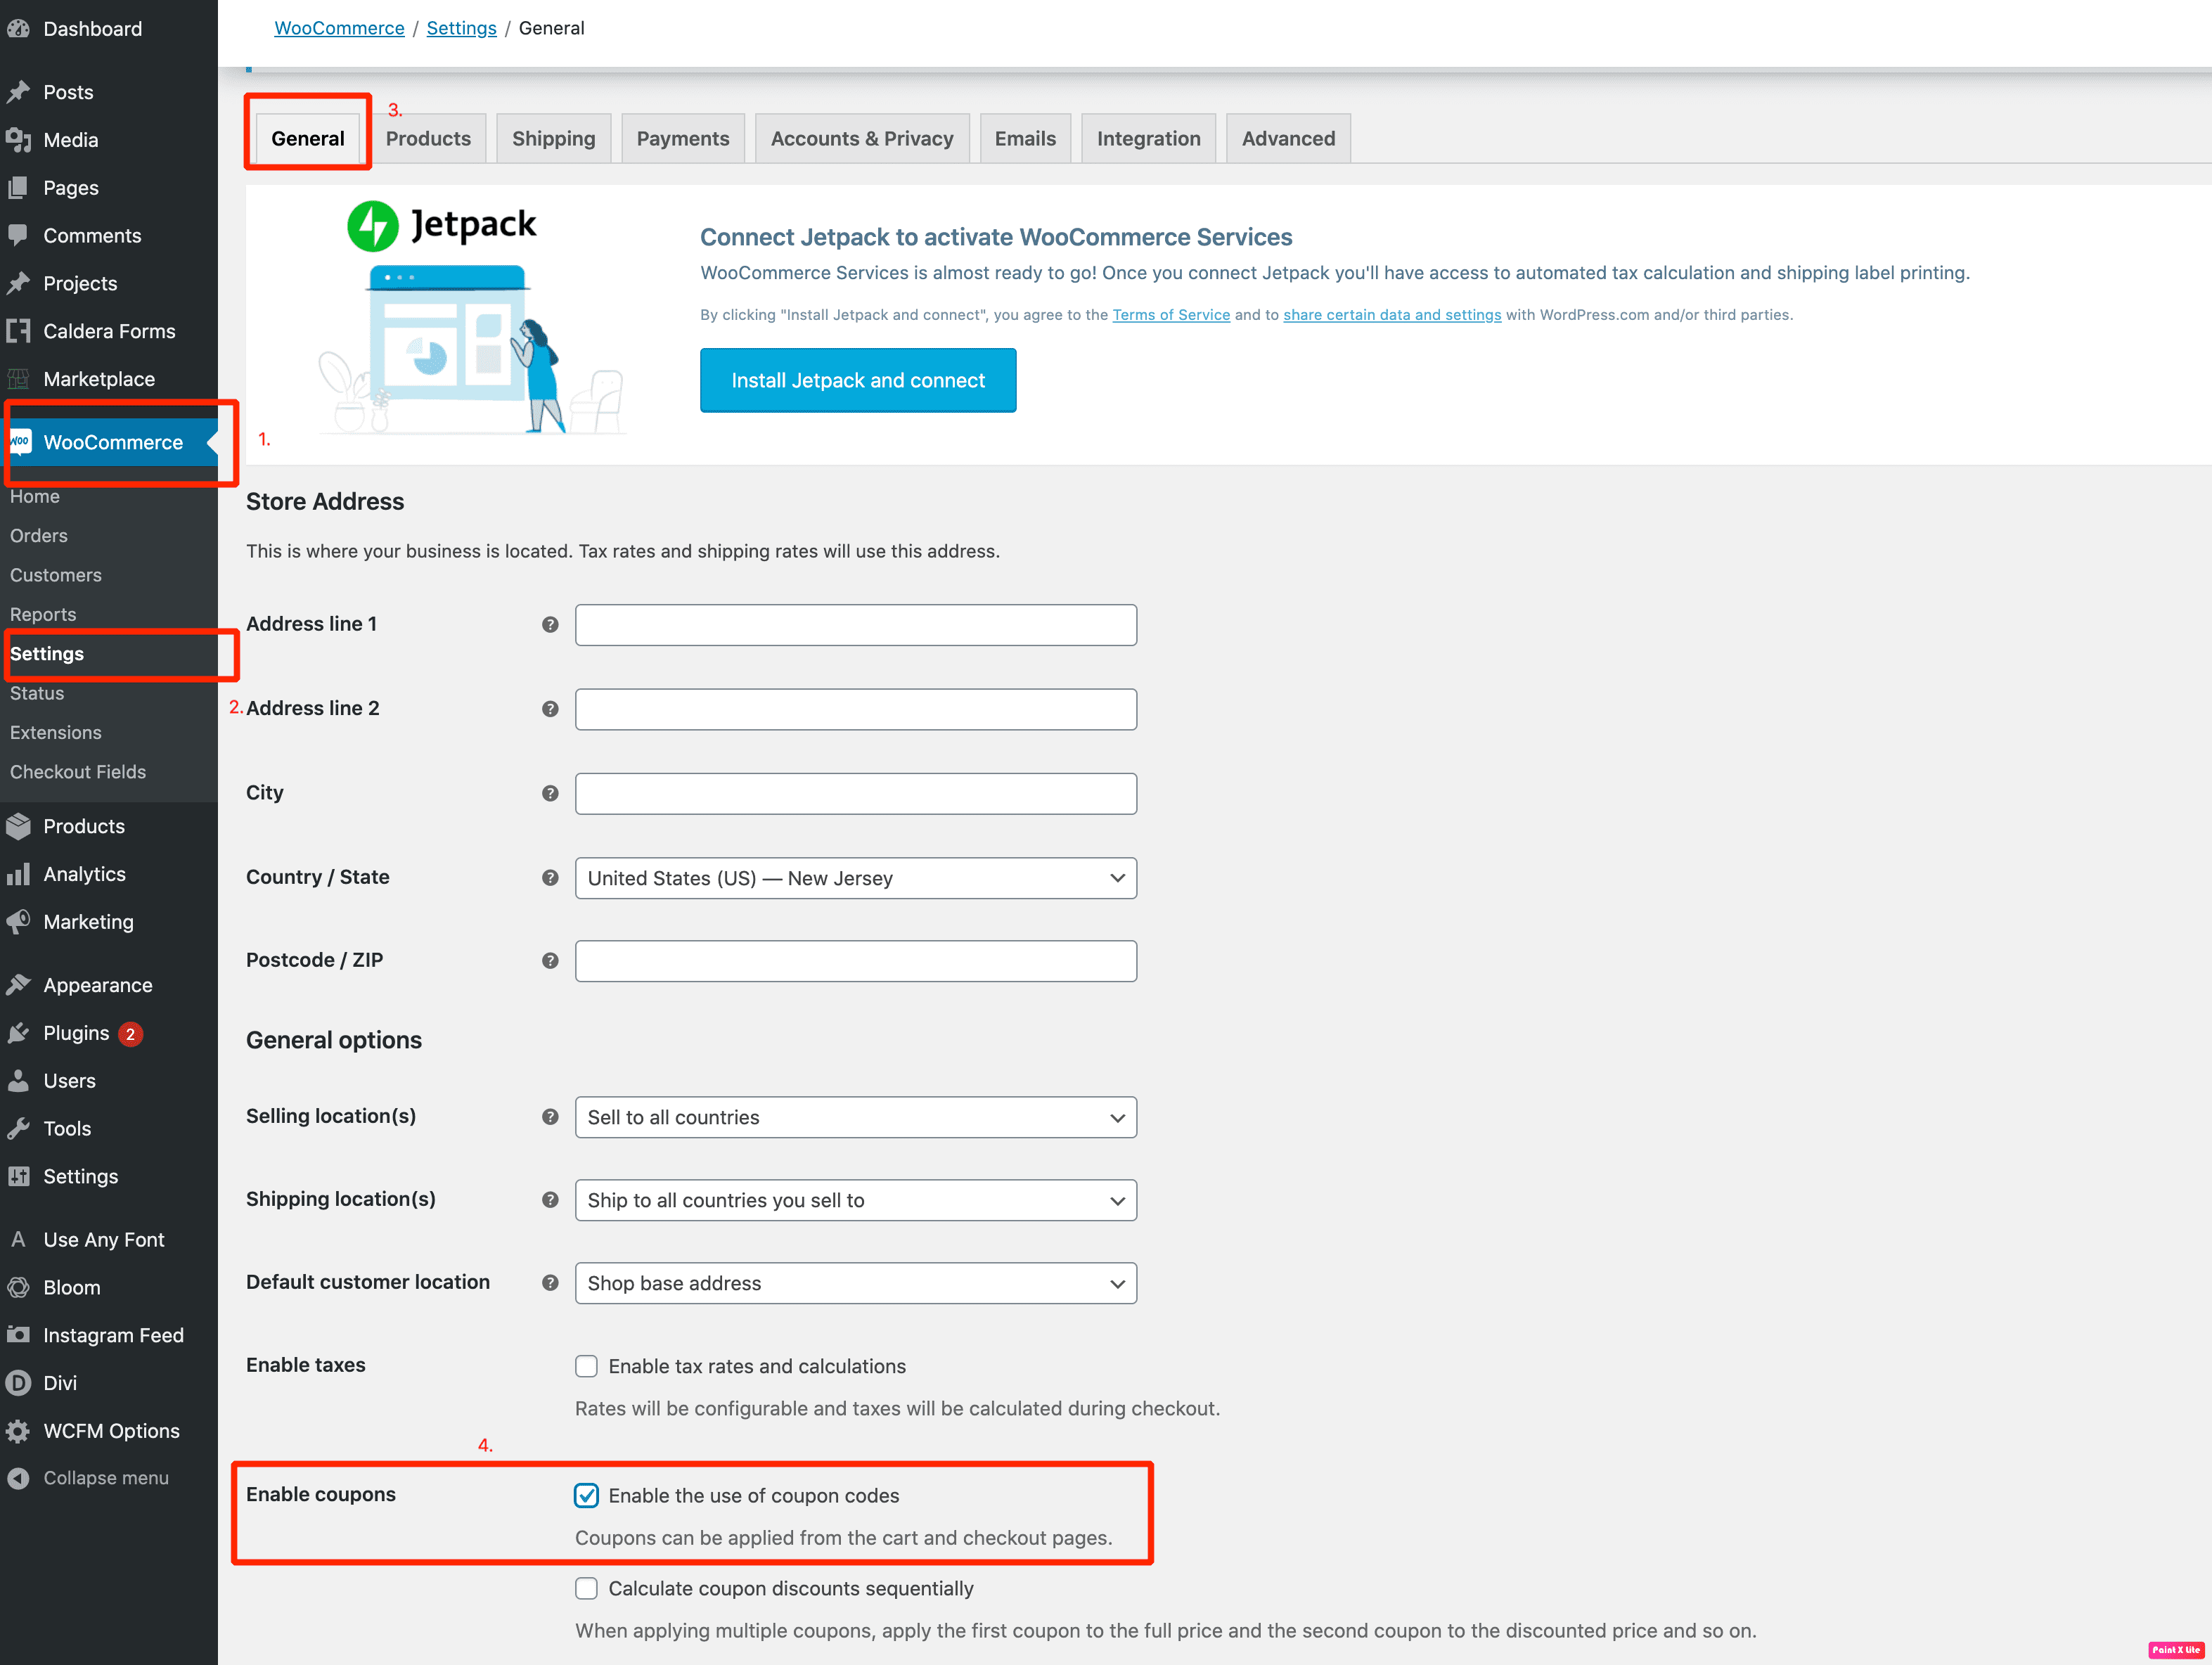
}If you want to delete it follow me Dashboard > Woocommerce > Settings > General > Uncheck the coupon box.

Congratulations, you have successfully created a modern new checkout page. I hope you like the new style Divi checkout page.
Bored😴?
Want some more boring designs? Join our newsletter, we push 1 boring freebie every Friday of the week.


Hi can you please help me? when I tried Unchecklist enable then save, there’s an error “no route was found matching the url and request method woocommerce”
is it possible because I have Woocommerce Block? so this error appeared. thanks
Hi Azul,
Thanks for stopping by, I really don’t get your question. Please can you attach a screenshot of the error so I can help you with that.
Thanks